Mouse-proofing a Lubbock home before the November cold-front season is the most cost-effective rodent control investment most homeowners can make. The work done in September and October prevents the annual cycle of winter mouse calls, hardware-store trap purchases, and eventually professional treatment for the colony that established while the traps were failing. This guide gives a practical, specific checklist for mouse-proofing a standard Lubbock brick-veneer home, with the materials that hold in West Texas conditions.
Why Lubbock homes specifically need this checklist.
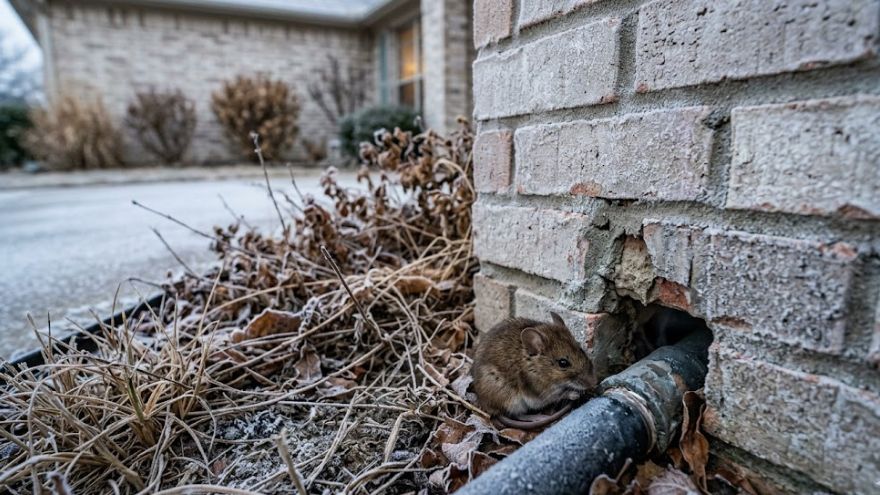
Most national mouse-proofing guides miss the weep hole. Lubbock's brick-veneer construction — the dominant exterior finish throughout the city — has weep holes spaced every 24–32 inches at the base of the brick. These are intentional drainage gaps that open directly into the wall cavity. They're 3/4 inch wide — exactly the right size for a house mouse. Most homeowners have never heard of them. Most pest companies don't seal them. A mouse-proofing checklist for Lubbock that doesn't start with weep holes is incomplete.
The checklist.
Step 1: Weep holes (exterior, brick base)
Walk the full perimeter of the home at the base of the brick. Count every weep hole. A standard single-story Lubbock home has 40–80 weep holes; a two-story home has weep holes at both levels. Install copper mesh in every one. Material: Copper mesh (not steel wool, which rusts; not foam, which can be chewed). Precut squares or roll-form to fit. Press firmly into the weep hole gap. The mesh should fill the opening without blocking it completely — moisture drainage is preserved while the mouse gap is closed.
Step 2: Utility pipe penetrations (exterior)
Every water supply line, drain pipe, gas line, and electrical conduit that exits through the exterior wall has a potential gap around it. Walk the exterior with a flashlight and check every penetration point. Feel with your finger — if you can fit a pencil into the gap, a mouse can too. Material: Foam backer rod for the fill, followed by paintable exterior caulk for smaller gaps. For gaps over 1/4 inch, use steel wool or copper mesh fill before caulking. Don't use foam alone at exterior locations — it degrades and can be chewed through.
Step 3: Garage door bottom seal
The bottom seal on a garage door is one of the most consistent mouse entry points in Lubbock homes. Check the seal for: gaps where it doesn't contact the floor completely, cracks or missing sections, and gaps at the corners where the seal meets the side jamb. Replace any worn seal with a full-width rubber or vinyl sweep rated for exterior use. Check the seal after installation by closing the door and looking for light gaps along the bottom — if you see light, a mouse can get through.
Step 4: Exterior door sweeps
Walk-in door sweeps — particularly the back door and the door from the garage to the house interior — wear faster than the door itself. A sweep that looked fine in the spring may have a 1/4-inch gap by fall from thermal cycling. Close each exterior door and look at the sweep contact with the threshold. Replace any sweep that shows a visible gap. For the garage-to-house door, this is one of the highest-priority fixes in a Lubbock home because it separates the garage (a common first mouse habitat) from the interior living spaces.
Step 5: Window and door casing gaps (exterior)
The joint between the exterior window frame or door casing and the surrounding brick or siding often develops a gap as caulk ages and pulls away. These gaps are typically too small for a rat but are exactly right for a mouse. Apply paintable exterior caulk to any visible gap along the exterior window and door casing perimeter. Focus on the bottom joints where water tends to pull caulk away fastest.
Step 6: Soffit vents (roof-line)
Soffit vents matter more for roof rats than for mice, but mice do access them occasionally, particularly at the ground-level soffit vents on single-story sections with low eaves. Check all soffit vents for damaged, missing, or pulled-away screening. Install hardware cloth backing behind any vent with compromised screening. Material: Galvanized hardware cloth, cut to fit inside or behind the vent frame, fastened with self-tapping screws or construction adhesive.
Step 7: Attic access points
Pull-down attic stairs, attic access hatches, and knee-wall doors are potential mouse access points if they don't seal completely when closed. Check the perimeter of each access point for gaps when closed. Weatherstrip the perimeter if gaps are present.
Step 8: Interior check — confirm no existing infestation
Mouse-proofing is most effective when done before an infestation is present. If you're sealing a home that already has an active colony, sealing the entry points traps animals inside. Before finalizing the exclusion, do a droppings inspection of: inside base kitchen cabinets (especially corner cabinets), under the sink, the back of the pantry, and the water heater closet. Fresh droppings (dark, pliable) mean the colony is active. Address the active infestation first, then complete the exclusion.
If you want this done professionally: Our mouse proofing service covers all of these steps with the right materials and a before-and-after photo record of every sealed location. We seal all the weep holes most homeowners don't know about, and we check from the interior that each seal is complete.